Drive Away Awning Guide - How to measure & How to Connect to Your Campervan/Motorhome
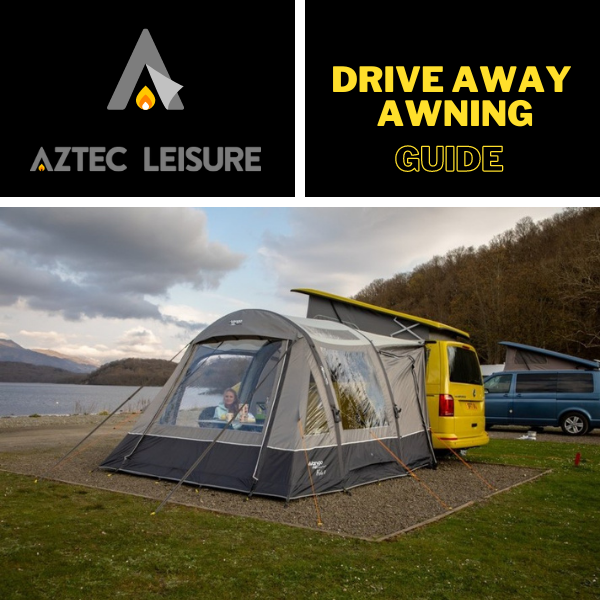
WHAT IS A DRIVE AWAY AWNING?
Having that extra bit of space on your holiday is so important, but what if where you sleep is also how you get around? If you are a campervan or motorhome owner then there is a fantastic solution.
Drive away awnings are wonderful for adding extra space without taking away from your daily mobility.
The drive away awning is a free-standing structure, just like a tent, that has a tunnel that connects to your vehicle. This allows you to disconnect the awning from your van, drive away and come back to connect up your home away from home with ease after a day’s exploring.
WHY GET A DRIVE AWAY AWNING?
Adding that extra space to your holiday home can mean different things to different people: a dining room, a bedroom to sleep extra guests by adding an inner tent, a play area for rainy days etc.
The extra space provided can be used however you wish. Some awnings have an option to add a sleeping annexe offering even more space.
CHOOSING YOUR DRIVE AWAY AWNING
When choosing your driveaway awning the golden rule is to make sure it is within the correct height range for your vehicle.
You will need to measure from the ground to the awning rail/top of your vehicle, this measurement will determine what size awning you will need.
You can see here two examples of different height vehicles and the awnings attached to the side, the first image is a low height driveaway awning attached to a standard height Volkswagen Transporter panel van. The second photo shows a high top vehicle attachment.

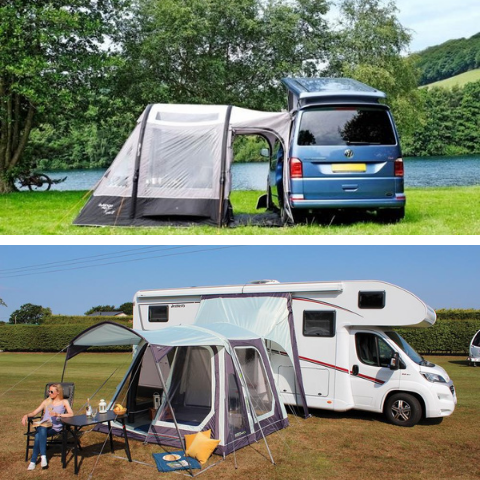
Drive away awnings fit into different height ranges, for example, the Outdoor Revolution Cayman Midi Air Drive Away Awning fits vehicles with a height range of 180 - 240cm so as long as your campervan measures between this height range it will fit.
We stock a full range of Drive away awnings to suit all vehicle heights:
The rest is down to you, choose your budget, what do you like the look of, how big you would like it.
HOW TO ATTACH YOUR DRIVE AWAY AWNING
There are a number of ways to attach a drive away awning to your campervan or motorhome depending on what is already on your vehicle. You may have a wind out awning already attached to your campervan or no awning rail at all!
WITH AN AWNING RAIL ATTACHED:
A caravan porch awning attaches by feeding the awning beading strip on the awning through a caravan awning rail. This can be the same with a drive away awning, although it is not ideal for a quick getaway. Driveaway awning beading is 6mm and slides smoothly into a standard 6mm awning rail.
A Keder Strip has the same size beading used on driveaway/caravan awnings and most commonly you would expect it to be two-sided. This is because it is an integral part to attaching drive away awnings using a Figure of 8 Awning Channel.
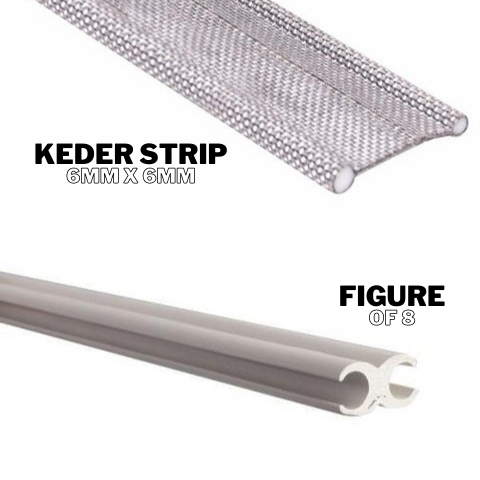
One side of the figure of eight channel attaches to the keder strip and the other attaches to the awnings beading. This method of attaching your awning makes it faster to disconnect and reconnect as you simply slide out the figure of eight strips and drive away reattaching them on your return.
NO AWNING RAIL?
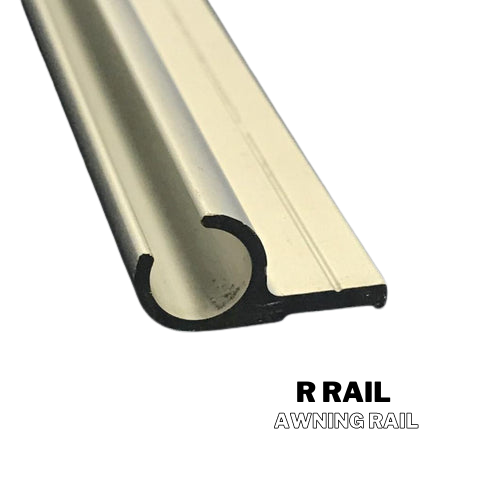
If you would like to attach one we have two different options, the R Rail which is a 3-metre aluminium awning rail (collection only).
VEHICLE GUTTER:
Vehicle guttering using a figure of 8 that clips into the gutter. Very easy for connecting and disconnecting. Always test this as some vehicles have shallow guttering that would require a pole and clamp kit.
ROOF BARS:
Some brands offer Velcro straps attached to the awning tunnel that can then easily connect to the roof bars. This is only available on selected awning designs so check with the dealer before purchasing.
OMNISTORE / THULE / FIAMMA F45 WIND OUT AWNINGS:
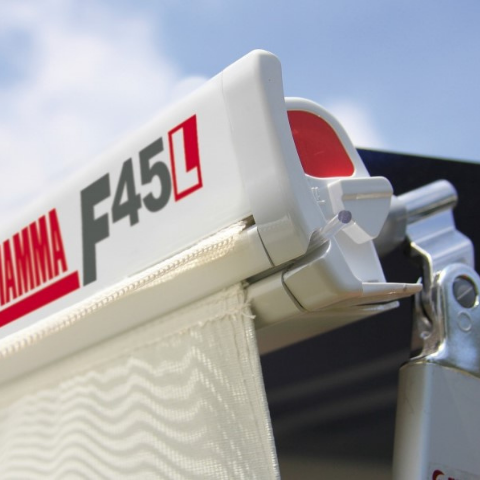
If you already have a wind out awning attached to your vehicle it should be possible to use the awnings channel to attach your drive away awning.
The awning channel on the outside allows for beading to be attached to the wind out awning. This channel is 4mm rather than the usual 6mm. A keder strip that has 4mm one side and 6mm on the other can be used with a figure of 8 to attach the awning in the same way as you would to an awning rail.
GUYLINES:
The most simple way to connect the awning to the vehicle is to use the guylines that attached to the awning tunnel and throw them over and peg them down on the other side of your vehicle. Or find a place on the vehicle to tie them on (for example roof bars or the wing mirror).
LIMPET SUCTION KIT
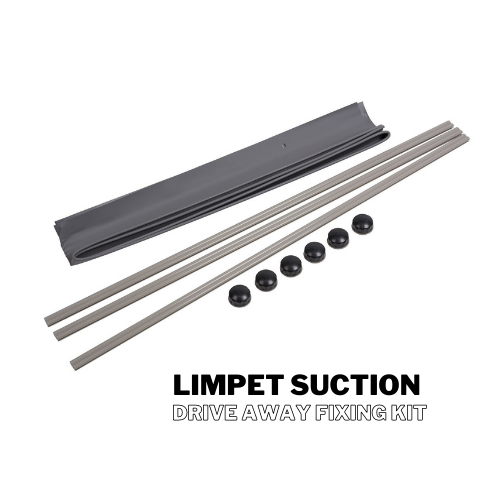
Dometic’s Limpet Suction Fixing Kit uses suction pads to attach a keder strip to the roof of your campervan allowing you to easily attach your awning using a figure of 8 awning channel.
The beading on the awning slides into one side of the figure of 8 awning channel while the other side slides onto the keder stripping that is attached to your campervan with the suction pads.
There are pre-cut holes in the keder strip that allows you to attach the heavy-duty limpets to the vehicle, clockwise to tighten them and anti-clockwise when you need to take them off.
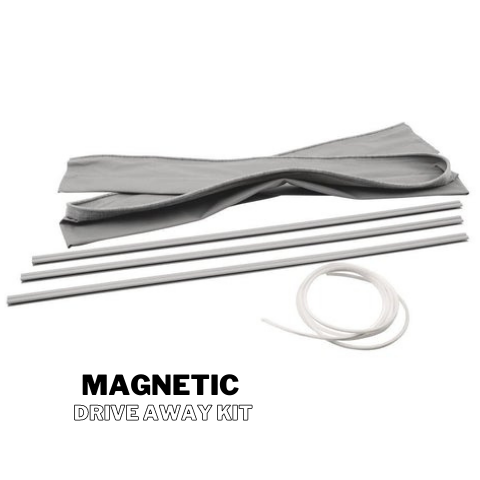
MAGNETIC CONNECTION KIT:
This option requires you to have a metal roof. Magnetic Connection Kits are easy and fast to use. The keder strip has a magnetic strip that connects to the campervan. Again using the figure of 8 awning channel you can easily attach the tunnel.
